Selecting the correct pad printing pad is one of the most important steps in ensuring consistent, high-quality prints. At Automark, we work closely with our customers to guide them through this critical decision, offering expert insight into the key factors that impact pad selection. Understanding how to select the correct pad printing pad can improve image transfer, reduce print errors, and extend the life of your equipment.
1. Image Size and Shape
The first step in selecting a pad printing pad is determining the image size and general shape of the artwork. These dimensions help guide the choice of pad size and profile. For example, larger or irregularly shaped images may require larger pads or those with specific contour designs to ensure full and even contact with the substrate.
2. Surface Type and Morphology
Next, it’s essential to consider the type of surface being printed on. Whether the object has a curved, flat, rough, or fragile surface, the pad’s durometer (hardness) must match the application.
Harder pads are ideal for smooth or textured surfaces like plastics or metals.
Softer or hollow pads are used for delicate items such as champagne flutes or curved objects, allowing the image to wrap evenly without damaging the product.
3. Printing Environment
The environmental conditions in which printing takes place also influence pad selection. In dry, high-static environments—or when printing on static-prone plastic components—an anti-static pad is often required. If static electricity continues to interfere with image transfer, Automark recommends implementing additional anti-static measures to maintain print quality and reduce misprints.
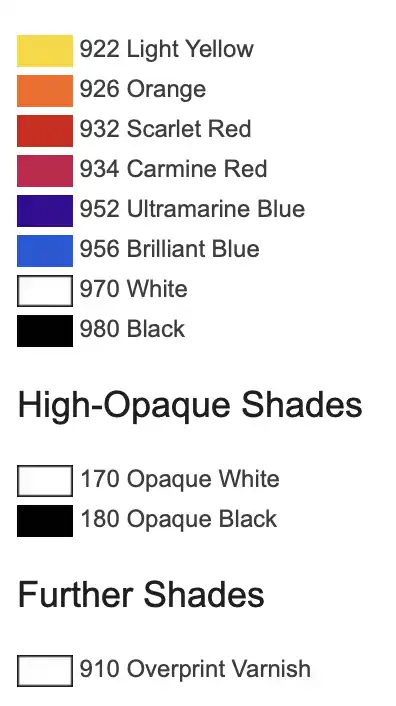
4. Ink Compatibility
The final major factor when selecting a pad for pad printing is ink type.
Epoxy-based inks are harsh on standard pads, which is why we recommend red silicone pads built for high durability.
Silicone inks, due to their tendency to bond with silicone pads, require harder pads and frequent cleaning (often with tape) to prevent image defects.
Glass inks—such as Marabu’s TPGL—need to be pre-cured on the pad to fully release the image. This may require pad blowers or adjusting machine speed to optimize transfer efficiency and maintain production flow.
When dealing with complex parts—such as those with recessed areas, multiple surface levels, or uneven geometries—knowing how to select the correct pad printing pad becomes essential. In these cases, standard pads often can’t accommodate the variations in the surface, leading to poor image transfer or misprints. To address this, a pad can be custom-shaped, trimmed, or molded to ensure proper contact with the entire printing area. This customization allows the pad to pick up and deliver the image across the full surface of the part in a single print cycle, improving efficiency and consistency in production.
One of the biggest challenges in printing on recessed areas is the entrapment of air between the pad and the surface. When air becomes trapped, it creates a vacuum effect that prevents the ink image from transferring properly. This can result in incomplete prints, smudges, or total print failure. That’s why understanding how to select the correct pad printing pad is critical, especially when working with recessed parts. While soft pads are often assumed to work well for these applications, they may not always provide the precision or air displacement required to achieve clean image transfer inside deep recessions.
To address these types of challenges, pad engineers can create pads with strategic peaks and points that do not directly align with the image. These features act like beveled edges, gradually pressing the pad into the surface to smoothly release the ink. The unique geometry of the pad ensures that the image is transferred cleanly and evenly, even on difficult surfaces. This technique is especially important when learning how to select the correct pad printing pad for parts with high-detail requirements, multi-level designs, or non-standard shapes.
By tailoring the pad shape to the application—whether it’s offsetting the image slightly, softening the pad’s contact point, or building in relief cuts for air displacement—manufacturers can achieve consistent, high-quality results even on the most complex components. This level of customization highlights why understanding how to select the correct pad printing pad is crucial in advanced pad printing processes.
Feel free to visit our online pad catalog to get a feeling of the types of pad we normally stock.
For more assistance in selecting the correct pad for your printing application or for pad development, feel free to reach out to the Automark team.